So, you’re getting ready for an epic vacation or a work trip and you realize that you have let things slide and your passport is about to expire, or worse, it already has. Maybe you don’t even have one yet. Whatever the case, there are very strict requirements for passport photos. You can’t be wearing any headgear (unless it’s for religious reasons and you have a signed statement that verifies the reason) nor eyeglasses. You can’t smile, showing any teeth or changing the dimensions of your face and crinkle of your eyes. You need to be positioned very specifically, facing forward with the head a specific size. The background has to be plain. And the image size has to be a very specific 2x2 inches. The good news? All of these rules are pretty simple to follow. The even better news? You can take a 2x2 passport photos with one of the best iPhones.
How to take a 2x2 passport photo with your iPhone
- First, get ready for the photo by removing your glasses, headgear, and even jewelry that might be distracting or reflect light. If you wear makeup, make sure it’s moderate or natural: Don’t overdo it with lipstick and eyeshadow, for example. (You can pretty up after the photo!) If you have bangs, make sure they are moved to the side or clipped back so they don’t cover your forehead. Wear a neutral color shirt that won’t blend in with the background and that doesn’t cover your neck.
- Find a spot inside with neutral lighting and a white or beige background. There should not be anything else visible in the background but the wall or other backing, like a curtain or even white sheet. Make sure nothing is casting a shadow on your face. Ideally, wait until the “golden hour” to take the photos, which is the last hour before sunset and the first hour after sunrise. This will afford the most favorable lighting. If there are objects on the sides of the photo (if you can’t find a big enough wall, for example) don’t worry as you can crop those out later.
- Set the iPhone on a tripod in vertical orientation or flat surface to keep it steady (it must be straight on and not on an angle like you might get with a kickstand). It should be about 5 feet away from you.
- Go into Settings and turn on Grid View in your camera. Go to Settings, Camera, Grid View and tap to the right to turn it on (green).3 Images
- Now, activate the phone’s rear camera, which will yield a better, sharper photo than the front “selfie” camera. Do not activate any filters, portrait mode, or zoom in.
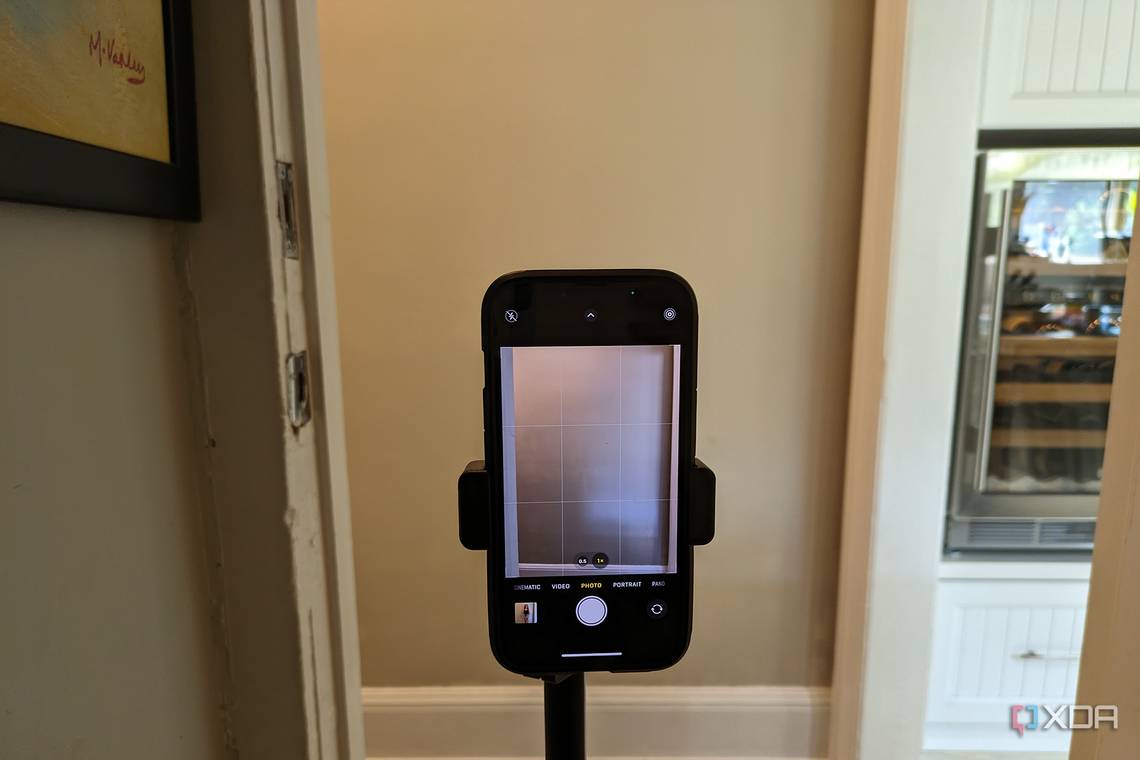
- Make sure standard Photo Mode is selected.2 Images
- Stand at the wall and look directly into the camera lens. Snap a test shot. You will likely need help from a second person or use a mirror behind the phone to see what’s on the screen.
- You can also use the iPhone’s built-in timer, or use a remote shutter. Or even use the camera app on an Apple Watch to take a photo with an at least three-second delay to position yourself accordingly.
- Check the photo and fix any issues with lighting, positioning, expression, and more. If you see casted shadows, for example, you might have to relocate to another spot to take the photo or wait until a different time of day.
- It’s a good idea to take multiple photos so you can review them all and choose the best one.3 Images
- Once you are happy with a photo, straighten or crop it to the right specifications. It should be 2x2 and at least 600x600 pixels. You can use software like Adobe Photoshop or the iPhone’s own editing feature. You may also need to use background removal software like Remove.bg.2 Images


What else to know about using an iPhone to take passport photos
Keep in mind that this guide follows the rules required for a U.S. passport. These rules could vary from country to country, so make sure to check the specific rules in the country in which you reside (if not the U.S.) and follow these when taking a passport photo with your iPhone. But the rules apply when taking a passport photo with any iPhone, including the new iPhone 15 Pro.
Please also note that the photos provided her are for demonstrative purposes online, taken with an iPhone 14 with iOS 17. We cannot confirm that the photos would be accepted for a passport in the U.S. or other country. This is merely a guide to help you set up and take a photo to use. But following all the rules set out here should yield a photo that is accepted. It’s also important to note that you aren’t looking to take a flattering image. It should be a non-expressive image of yourself that shows off your facial features, measurements between the eyes, nose, and mouth, shape of your nose, chin, and facial structure overall. Bottom line: You aren’t going to be posting these photos to Instagram anytime soon. But they make it possible for you to travel the world, so make sure you do it right, then laugh about your serious, unflattering pic with friends later while you sip margaritas on the beach in Cabo.